Campaign Setup
Now that you are a member of the team, you will be able to automatically add your own fundraiser to the overall campaign!
Login and join
Ensure you are logged into your Tiltify account, then click this link.
Quick Start
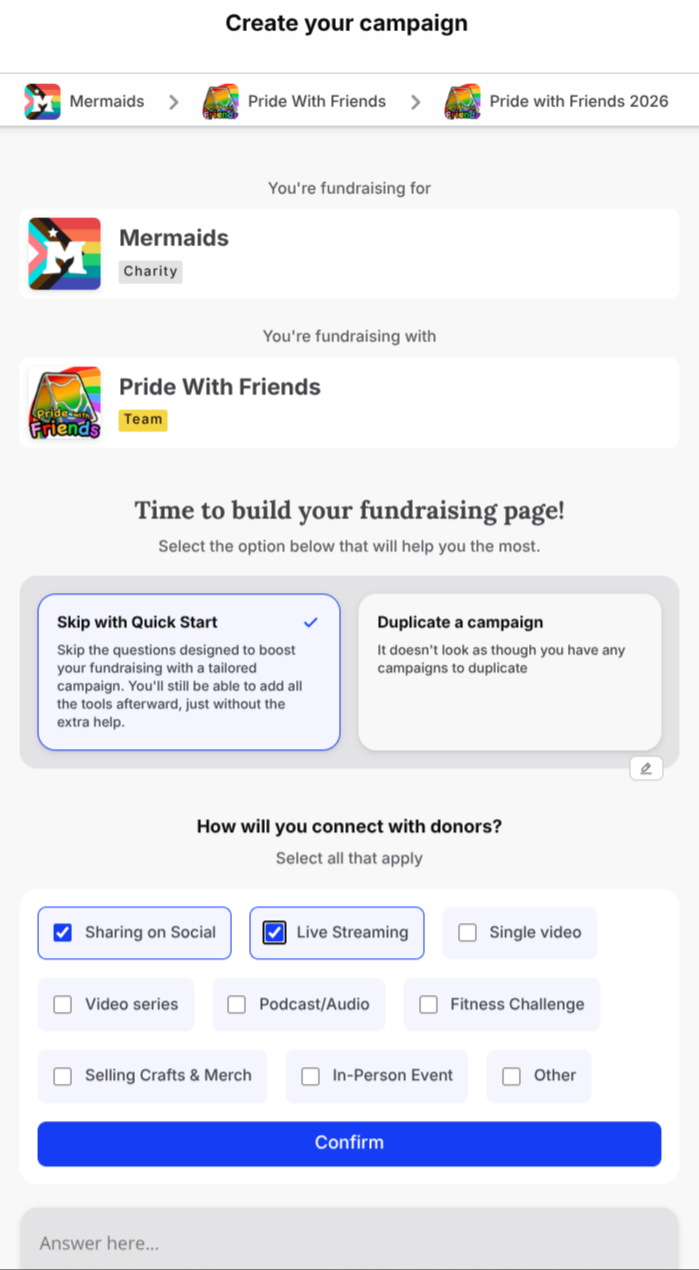
Click Skip with Quick Start to choose how you will share the campaign with donors.
Select sharing options
Select Sharing on Social and Live Streaming.
Confirm
Click Confirm.
Decline other creators
Select No when it suggests to allow other creators to support your fundraising effort. It should look like the below image.
Invite others to joinConsider inviting other creators to join through the link in the first step above!
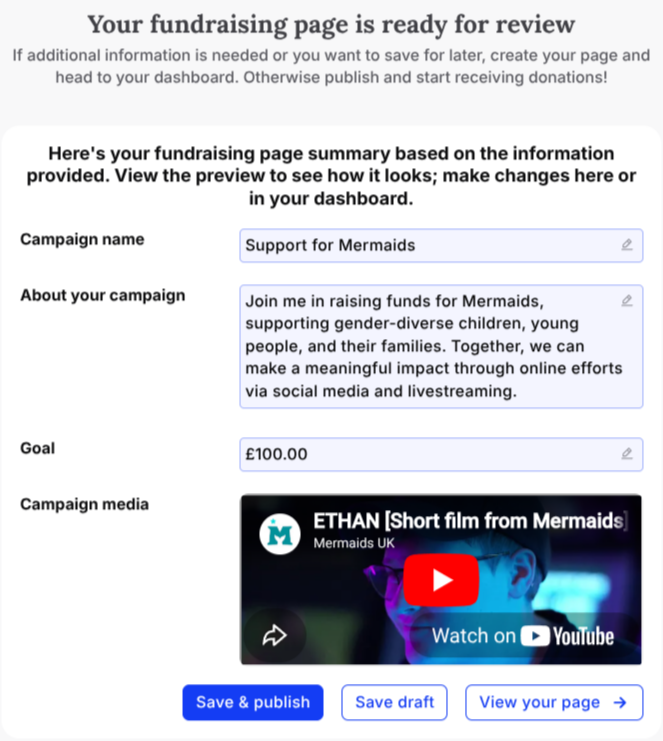
After confirming, you will be offered an opportunity to edit a couple more details.
Name your campaign
Please edit the Campaign name to clarify that it is a Pride With Friends fundraiser.
Most creators will use a name like Pride With Friends 2026 [YOURNAME].
Describe your campaign
Feel free to add your own description in About your campaign.
Make sure to mention the charity being supported by this year's event!
Donation goal
Set the Goal to any value you feel is both comfortable and achievable.
There is no obligation to meet your goal; every dollar goes toward and amazing cause!
Publish
You may now Save & publish to officially launch your Pride With Friends fundraiser!
You will now be at the Campaign Dashboard for Pride With Friends. This is where you may edit additional details of the campaign to increase the chance of reaching your donation goal.